
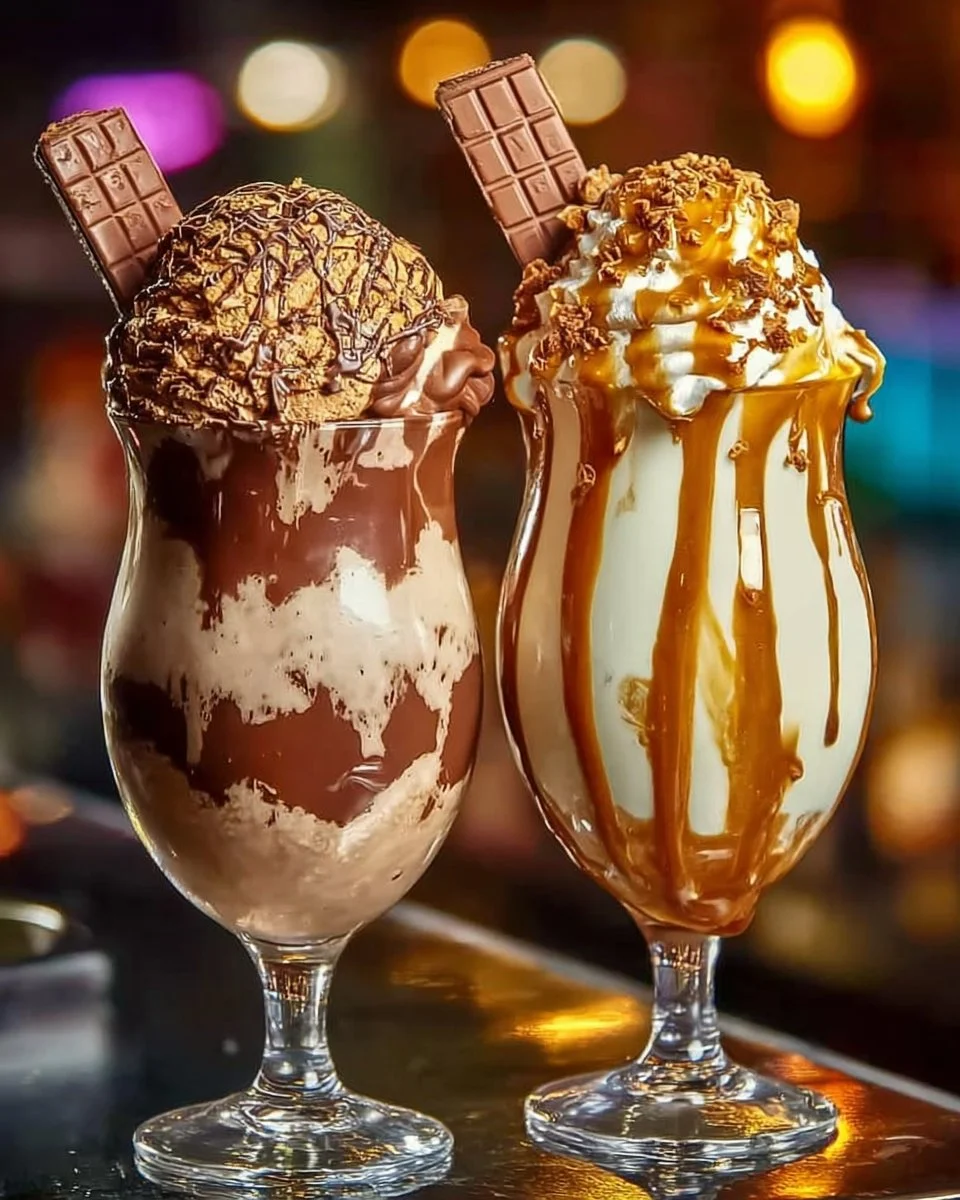
Homemade Chocolate-Covered Ice Cream Bars
Homemade Chocolate-Covered Ice Cream Bars are a delightful treat that everyone loves. They are creamy, sweet, and satisfying—perfect for a hot day or a sweet snack. Making these bars at home is easier than you might think, and you can customize them to suit your taste!
Why Make This Recipe
Making your own chocolate-covered ice cream bars is a fun activity, especially for families. You get to choose your favorite ice cream flavor, and you can add various toppings to make them unique. Plus, there’s nothing quite like the taste of homemade treats. They are also much healthier than store-bought options, as you control the ingredients.
How to Make Homemade Chocolate-Covered Ice Cream Bars
Ingredients
- Vanilla ice cream (or any preferred flavor)
- Melting chocolate (milk, dark, or white)
- Crushed nuts
- Crushed cookies
- Sprinkles
- Popsicle sticks
Directions
- Scoop vanilla ice cream into molds or form into bar shapes using a spoon. Insert a popsicle stick into each bar and freeze until solid (around 2-3 hours).
- In a microwave-safe bowl, melt your chocolate in 30-second intervals, stirring in between until smooth.
- Once frozen solid, dip each ice cream bar into the melted chocolate, making sure to coat it fully.
- Before the chocolate sets, sprinkle crushed nuts, cookies, or sprinkles on top of the bars. For some variation, you can drizzle white chocolate or add crushed candies like toffee.
- Place the chocolate-dipped bars back in the freezer to harden for another 30 minutes.
- Once frozen solid, take out and enjoy your delicious homemade chocolate ice cream bars!
How to Serve Homemade Chocolate-Covered Ice Cream Bars
Serve your homemade chocolate-covered ice cream bars directly from the freezer. You can place them on a plate or in a fun dessert bowl. They are perfect as a dessert for parties or just as a sweet treat during the day. Enjoy them with friends and family!
How to Store Homemade Chocolate-Covered Ice Cream Bars
To store your homemade chocolate-covered ice cream bars, put them in an airtight container in the freezer. They will keep well for about 1-2 weeks, though they are best enjoyed fresh.
Tips to Make Homemade Chocolate-Covered Ice Cream Bars
- Make sure your ice cream is fully frozen before dipping to avoid melting.
- Use quality melting chocolate for a smooth coating.
- Experiment with different flavors of ice cream and toppings to create new combinations.
- Make smaller bars for kids or bite-sized treats for parties.
Variation
If you want to change things up, try different ice cream flavors like strawberry, mint chocolate chip, or cookies and cream! You can also mix your toppings, like adding mini marshmallows or dried fruits.
FAQs
1. Can I use different types of toppings?
Yes! You can use crushed candy, mini marshmallows, or even coconut flakes. Get creative with your favorite toppings!
2. How long do these homemade bars last in the freezer?
The chocolate-covered ice cream bars can last about 1-2 weeks in the freezer when stored properly in an airtight container.
3. What if I don’t have molds for the ice cream bars?
You can use small cups or even make freeform bars with a spoon. Just make sure to insert a popsicle stick to hold them.
Enjoy making your own Homemade Chocolate-Covered Ice Cream Bars! They are sure to be a hit!
Print
Homemade Chocolate-Covered Ice Cream Bars
- Total Time: 195 minutes
- Yield: 6 servings
- Diet: Vegetarian
Description
Delightful homemade chocolate-covered ice cream bars that are creamy and customizable, perfect for a hot day or as a sweet snack.
Ingredients
- Vanilla ice cream (or any preferred flavor)
- Melting chocolate (milk, dark, or white)
- Crushed nuts
- Crushed cookies
- Sprinkles
- Popsicle sticks
Instructions
- Scoop vanilla ice cream into molds or form into bar shapes using a spoon. Insert a popsicle stick into each bar and freeze until solid (around 2-3 hours).
- In a microwave-safe bowl, melt your chocolate in 30-second intervals, stirring in between until smooth.
- Once frozen solid, dip each ice cream bar into the melted chocolate, making sure to coat it fully.
- Before the chocolate sets, sprinkle crushed nuts, cookies, or sprinkles on top of the bars. You can drizzle white chocolate or add crushed candies like toffee for variation.
- Place the chocolate-dipped bars back in the freezer to harden for another 30 minutes.
- Once frozen solid, take out and enjoy your delicious homemade chocolate ice cream bars!
Notes
For best results, ensure your ice cream is fully frozen before dipping. Experiment with different ice cream flavors and toppings.
- Prep Time: 15 minutes
- Cook Time: 180 minutes
- Category: Dessert
- Method: Freezing
- Cuisine: American
Nutrition
- Serving Size: 1 serving
- Calories: 300
- Sugar: 20g
- Sodium: 150mg
- Fat: 15g
- Saturated Fat: 8g
- Unsaturated Fat: 6g
- Trans Fat: 0g
- Carbohydrates: 34g
- Fiber: 1g
- Protein: 4g
- Cholesterol: 30mg
Keywords: ice cream bars, chocolate covered, homemade ice cream, summer treat