
Homemade Chocolate-Covered Ice Cream
Homemade Chocolate-Covered Ice Cream is a delightful treat that everyone loves. It combines the creaminess of ice cream with a rich chocolate coating, making it a perfect dessert for any occasion. This recipe is easy to make and doesn’t require fancy ingredients.
Why Make This Recipe
Making your own Chocolate-Covered Ice Cream at home allows you to customize the flavors and enjoy a delicious treat without all the additives found in store-bought versions. Plus, it’s a fun activity to do with kids or friends. You can impress your guests and create a dessert that tastes just like your favorite ice cream shop, but with a personal touch.
How to Make Homemade Chocolate-Covered Ice Cream
Ingredients:
- 500 ml whipping cream
- 400 ml condensed milk
- 1 teaspoon vanilla extract
- 200 g dark or milk chocolate
- 2 tablespoons coconut oil or cocoa butter
Directions:
- In a large bowl, beat the cream with an electric mixer until soft peaks form.
- In another bowl, combine the condensed milk with the vanilla extract.
- Fold the condensed milk mixture into the whipped cream to prevent it from losing volume.
- Pour the mixture into a freezer-safe mold, cover with plastic wrap, and freeze for at least 6 hours or overnight.
- Place the chocolate and coconut oil (or cocoa butter) in a heat-resistant container and melt in a double boiler or microwave.
- Let the chocolate cool slightly before using.
- Once the ice cream is completely frozen, cut it into portions or roll it into balls.
- Dip each portion in the melted chocolate and place on a baking sheet lined with parchment paper.
- Let the chocolate harden completely in the refrigerator for 10-15 minutes. Serve and enjoy!
How to Serve Homemade Chocolate-Covered Ice Cream
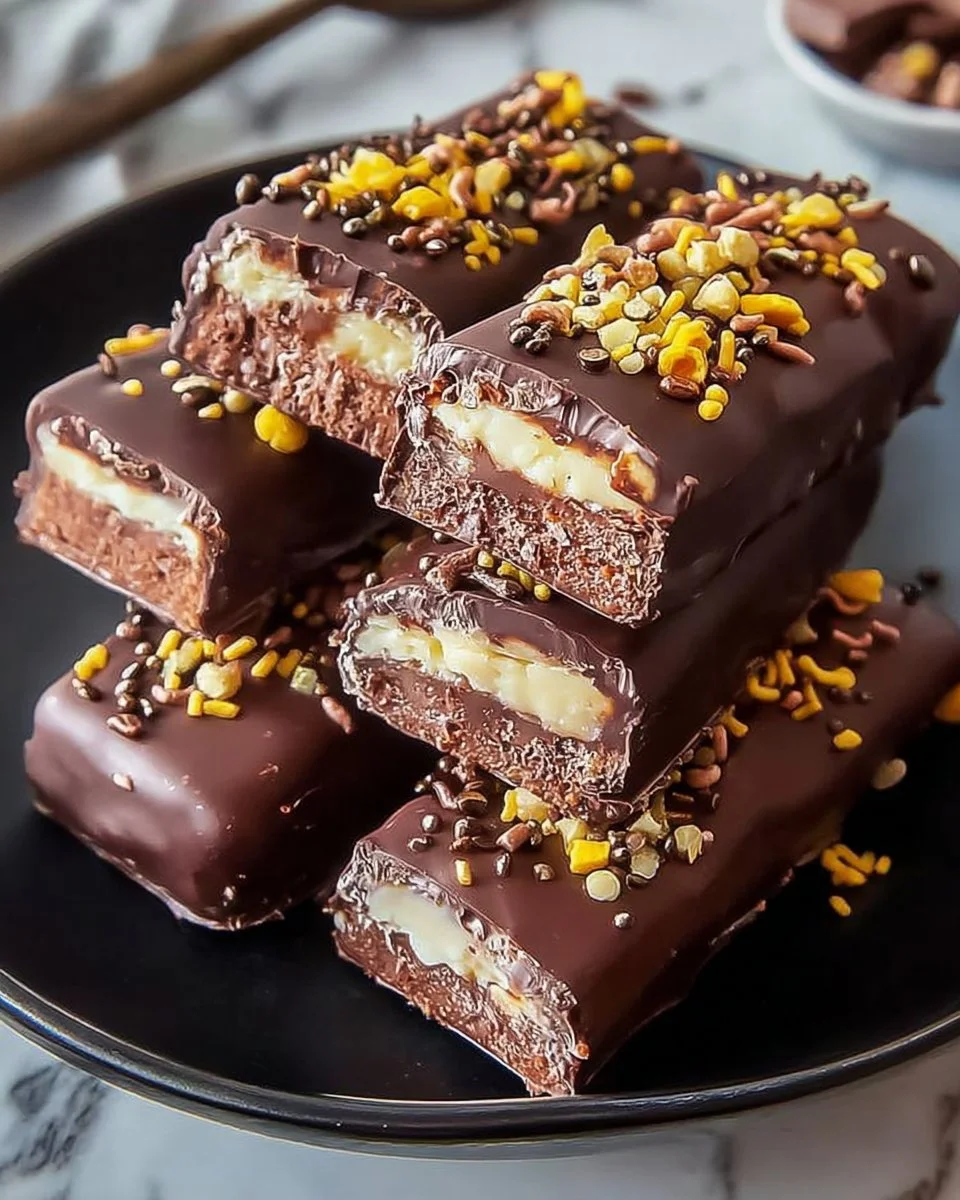
Serve the Chocolate-Covered Ice Cream cold and fresh. You can add toppings like sprinkles, nuts, or fresh fruit to make it even more special. It’s a great dessert for birthday parties, summer gatherings, or just a sweet treat after dinner.
How to Store Homemade Chocolate-Covered Ice Cream
Store any leftover Chocolate-Covered Ice Cream in an airtight container in the freezer. It can last up to two weeks, but it’s best enjoyed fresh. If the chocolate gets too hard, let it sit at room temperature for a few minutes before serving.
Tips to Make Homemade Chocolate-Covered Ice Cream
- Make sure your cream is very cold before whipping; this will help it whip up nicely.
- Experiment with different chocolates. Milk chocolate is sweeter, while dark chocolate gives a richer taste.
- For fun variations, try adding different flavor extracts to the ice cream mixture, like mint or almond.
Variation
You can add crushed cookies or candy bars into the ice cream mixture before freezing for a crunchy texture.
FAQs
1. Can I use other types of chocolate?
Yes! You can use any type of chocolate – dark, milk, or white chocolate works well for coating your ice cream.
2. How long does it take to freeze the ice cream?
It takes at least 6 hours to freeze properly, but it’s best if you freeze it overnight.
3. Can I use a different type of oil for melting chocolate?
Yes, you can use any neutral oil or fats, but coconut oil and cocoa butter are preferred for a smoother finish.

Homemade Chocolate-Covered Ice Cream
- Total Time: 420 minutes
- Yield: 10 servings 1x
- Diet: Vegetarian
Description
A delightful treat combining creamy ice cream with a rich chocolate coating, perfect for any occasion.
Ingredients
- 500 ml whipping cream
- 400 ml condensed milk
- 1 teaspoon vanilla extract
- 200 g dark or milk chocolate
- 2 tablespoons coconut oil or cocoa butter
Instructions
- In a large bowl, beat the cream with an electric mixer until soft peaks form.
- In another bowl, combine the condensed milk with the vanilla extract.
- Fold the condensed milk mixture into the whipped cream to prevent it from losing volume.
- Pour the mixture into a freezer-safe mold, cover with plastic wrap, and freeze for at least 360 minutes (6 hours) or overnight.
- Place the chocolate and coconut oil (or cocoa butter) in a heat-resistant container and melt in a double boiler or microwave.
- Let the chocolate cool slightly before using.
- Once the ice cream is completely frozen, cut it into portions or roll it into balls.
- Dip each portion in the melted chocolate and place on a baking sheet lined with parchment paper.
- Let the chocolate harden completely in the refrigerator for 10-15 minutes. Serve and enjoy!
Notes
Store any leftovers in an airtight container in the freezer for up to two weeks. Let sit at room temperature for a few minutes if the chocolate gets too hard before serving.
- Prep Time: 15 minutes
- Cook Time: 15 minutes
- Category: Dessert
- Method: Freezing
- Cuisine: American
Nutrition
- Serving Size: 1 serving
- Calories: 300
- Sugar: 25g
- Sodium: 80mg
- Fat: 15g
- Saturated Fat: 10g
- Unsaturated Fat: 3g
- Trans Fat: 0g
- Carbohydrates: 35g
- Fiber: 1g
- Protein: 5g
- Cholesterol: 40mg
Keywords: chocolate, ice cream, dessert, homemade, treat