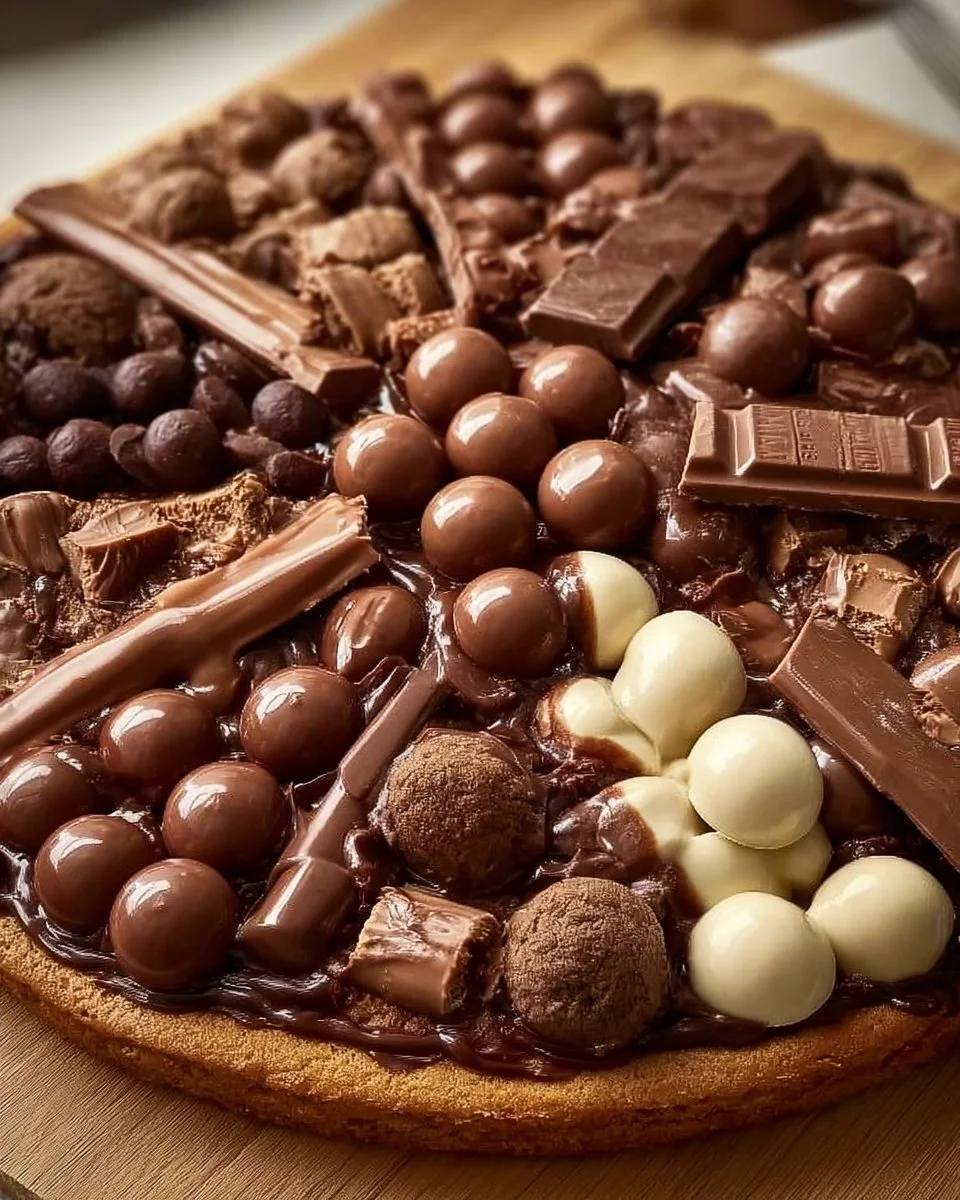
Homemade Chocolate-Covered Ice Cream Bars
Homemade Chocolate-Covered Ice Cream Bars are a delightful treat that you can whip up in your own kitchen. Perfect for hot days or any occasion, these bars combine creamy ice cream with a rich chocolate coating, making them a favorite among kids and adults alike. The best part is that you can customize them with your favorite toppings, ensuring everyone gets a sweet bite they love.
Why Make This Recipe
There are many reasons to make these chocolate-covered ice cream bars at home! First, they are easy to prepare and require only a few ingredients. Second, you can choose your favorite ice cream flavors and toppings, making each batch unique. Lastly, homemade treats are healthier and more satisfying than store-bought ones, and they are a fun activity to do with family and friends.
How to Make Homemade Chocolate-Covered Ice Cream Bars
Making these delicious ice cream bars is simple. Follow these steps to create your own chocolate-covered treats!
Ingredients:
- Vanilla ice cream (or any preferred flavor)
- Melting chocolate (milk, dark, or white)
- Crushed nuts
- Crushed cookies
- Sprinkles
- Popsicle sticks
Directions:
- Scoop vanilla ice cream into molds or form into bar shapes using a spoon. Insert a popsicle stick into each bar and freeze until solid (around 2-3 hours).
- In a microwave-safe bowl, melt your chocolate in 30-second intervals, stirring in between until smooth.
- Once frozen solid, dip each ice cream bar into the melted chocolate, making sure to coat it fully.
- Before the chocolate sets, sprinkle crushed nuts, cookies, or sprinkles on top of the bars. For some variation, you can drizzle white chocolate or add crushed candies like toffee.
- Place the chocolate-dipped bars back in the freezer to harden for another 30 minutes.
- Once frozen solid, take out and enjoy your delicious homemade chocolate ice cream bars!
How to Serve Homemade Chocolate-Covered Ice Cream Bars
Serve these decadent ice cream bars on a warm day as a perfect dessert. Place them on a plate, or serve them individually wrapped in paper for a fun party treat. Pair them with fresh fruit or a scoop of whipped cream for an added touch of sweetness.
How to Store Homemade Chocolate-Covered Ice Cream Bars
To keep your ice cream bars fresh, store them in an airtight container in the freezer. This will prevent them from getting freezer burn and keep them tasting great for up to two weeks. Just make sure to separate each bar with parchment paper to avoid sticking!
Tips to Make Homemade Chocolate-Covered Ice Cream Bars
- Use a high-quality melting chocolate for the best flavor.
- Experiment with different ice cream flavors or even make a swirl with two flavors.
- Allow your chocolate to cool slightly before dipping to prevent it from melting the ice cream.
- Get creative with your toppings and try various combinations!
Variation
For a fun twist, try adding flavored extracts like mint or almond to the melted chocolate. You can also try using yogurt or sorbet for a lighter option.
FAQs
Can I use store-bought ice cream for these bars?
- Yes! Store-bought ice cream works perfectly for this recipe and saves time.
How long do these chocolate-covered ice cream bars last in the freezer?
- They can last up to two weeks when stored properly in an airtight container.
What toppings can I use besides nuts and sprinkles?
- You can use crushed cookies, shredded coconut, mini marshmallows, or candy pieces to add more flavor and texture.
Making your own Homemade Chocolate-Covered Ice Cream Bars is a fun and rewarding experience. Enjoy making this treat with family and friends!
Print
Homemade Chocolate-Covered Ice Cream Bars
- Total Time: 195 minutes
- Yield: 6 servings
- Diet: Vegetarian
Description
Delightful chocolate-covered ice cream bars that are easy to make at home, customizable with your favorite toppings.
Ingredients
- Vanilla ice cream (or any preferred flavor)
- Melting chocolate (milk, dark, or white)
- Crushed nuts
- Crushed cookies
- Sprinkles
- Popsicle sticks
Instructions
- Scoop vanilla ice cream into molds or form into bar shapes using a spoon. Insert a popsicle stick into each bar and freeze until solid (around 2-3 hours).
- In a microwave-safe bowl, melt your chocolate in 30-second intervals, stirring in between until smooth.
- Once frozen solid, dip each ice cream bar into the melted chocolate, making sure to coat it fully.
- Before the chocolate sets, sprinkle crushed nuts, cookies, or sprinkles on top of the bars. Drizzle white chocolate or add crushed candies if desired.
- Place the chocolate-dipped bars back in the freezer to harden for another 30 minutes.
- Once frozen solid, take out and enjoy your delicious homemade chocolate ice cream bars!
Notes
Experiment with different flavors and toppings. Store in an airtight container for up to two weeks.
- Prep Time: 15 minutes
- Cook Time: 180 minutes
- Category: Dessert
- Method: Freezing
- Cuisine: American
Nutrition
- Serving Size: 1 bar
- Calories: 250
- Sugar: 18g
- Sodium: 150mg
- Fat: 12g
- Saturated Fat: 7g
- Unsaturated Fat: 4g
- Trans Fat: 0g
- Carbohydrates: 32g
- Fiber: 1g
- Protein: 3g
- Cholesterol: 20mg
Keywords: ice cream bars, chocolate dessert, homemade treats, summer snacks

