
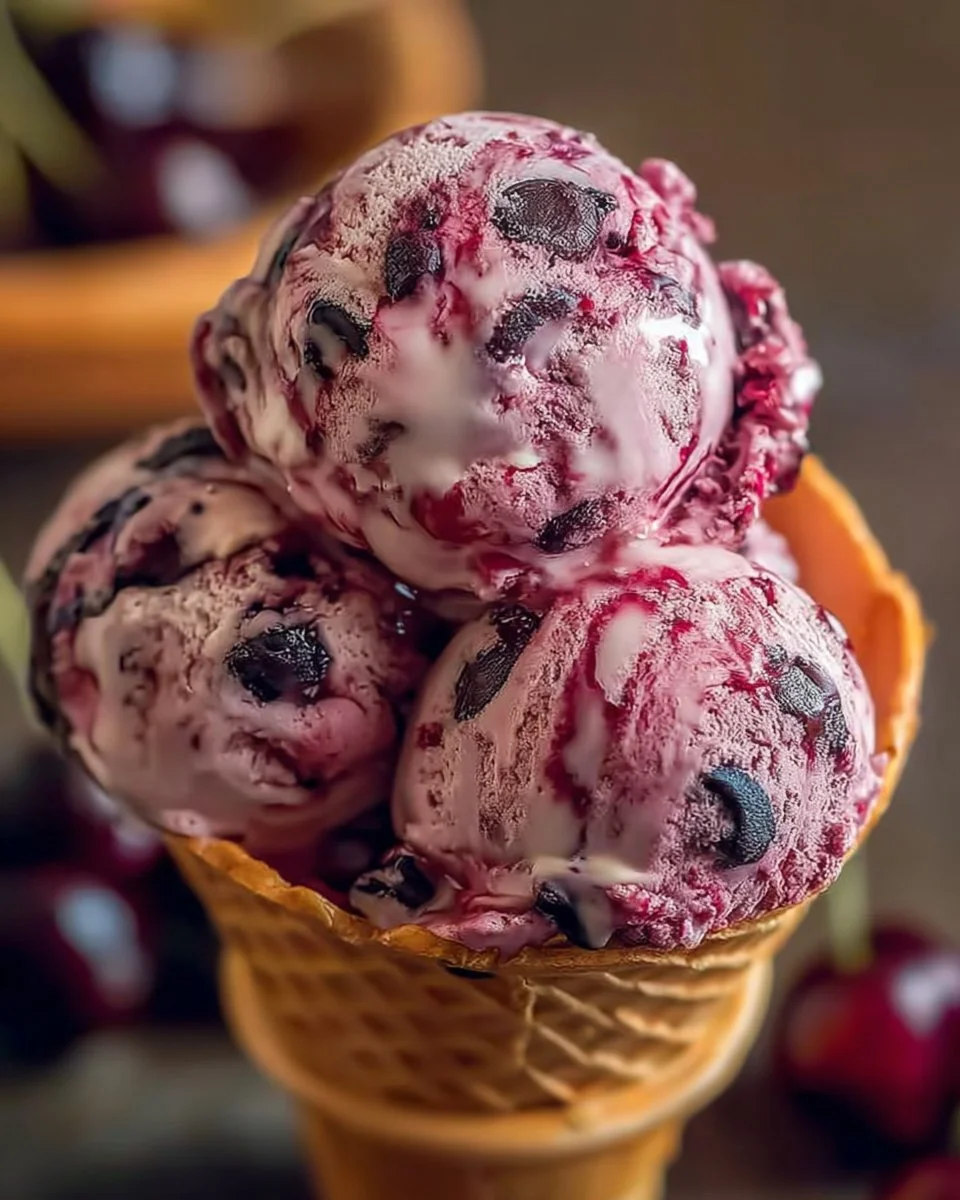
Cherry Garcia Ice Cream
Cherry Garcia Ice Cream is a delightful treat that combines the rich creaminess of ice cream with sweet cherries and chocolate chips. Inspired by the famous flavor from a popular ice cream brand, this homemade version is sure to please anyone who loves cherry and chocolate together. Making this ice cream from scratch allows you to enjoy it fresh and customize it to your taste.
Why Make This Recipe
There are many reasons to make Cherry Garcia Ice Cream at home. First, it is simple and only requires a few ingredients. Secondly, you can control the sweetness and choose high-quality cherries and chocolate. Making ice cream at home is also a fun activity that you can enjoy with family or friends. Plus, there’s nothing like serving a delicious homemade dessert on a hot day!
How to Make Cherry Garcia Ice Cream
Ingredients
- 2 cups heavy cream
- 1 cup whole milk
- 3/4 cup granulated sugar
- 1 teaspoon vanilla extract
- 1/2 cup cherry puree
- 1 cup chocolate chips
- 1 cup cherries, pitted and halved
Directions
- In a medium bowl, whisk together the heavy cream, whole milk, and granulated sugar until the sugar is dissolved. Stir in the vanilla extract and cherry puree until well combined.
- Cover the mixture and refrigerate it for at least 2 hours, or overnight, to allow the flavors to meld.
- Once chilled, pour the mixture into an ice cream maker and churn according to the manufacturer’s instructions (usually about 20-25 minutes).
- When the ice cream is nearly done churning, add the pitted and halved cherries and chocolate chips. Continue to churn for a few more minutes until the cherries and chocolate are evenly distributed.
- Transfer the ice cream to an airtight container and freeze for 4-6 hours, or until firm.
- Scoop out your creamy, cherry-filled ice cream and enjoy!
How to Serve Cherry Garcia Ice Cream
Serve Cherry Garcia Ice Cream in a bowl or a cone. You can also add a drizzle of chocolate sauce or extra cherries on top for a special touch. It makes a lovely dessert for gatherings, parties, or a cozy night in.
How to Store Cherry Garcia Ice Cream
To store Cherry Garcia Ice Cream, keep it in an airtight container in the freezer. It will keep well for about 2-3 weeks. Make sure to let it sit at room temperature for a few minutes before scooping, as it may harden in the freezer.
Tips to Make Cherry Garcia Ice Cream
- Use fresh cherries for the best flavor, but frozen cherries will also work if fresh ones are not available.
- Adjust the amount of sugar according to how sweet you like your ice cream.
- For a smoother texture, make sure the mixture is well chilled before churning.
Variation
You can try different variations of Cherry Garcia Ice Cream by adding other ingredients like crushed nuts or swapping out chocolates for white chocolate chips. You can also use different fruit purees, such as raspberry or strawberry, for a unique twist.
FAQs
Q: Can I make Cherry Garcia Ice Cream without an ice cream maker?
A: Yes! You can pour the mixture into a shallow container, freeze it, and stir every 30 minutes until it reaches your desired consistency.
Q: How can I make cherry puree?
A: To make cherry puree, simply blend fresh or thawed frozen cherries in a blender until smooth. You can strain it for a smoother texture if desired.
Q: Can I use dairy-free alternatives?
A: Yes! You can create a dairy-free version of Cherry Garcia Ice Cream by using coconut cream and almond milk instead of heavy cream and whole milk.

Cherry Garcia Ice Cream
- Total Time: 145 minutes
- Yield: 4 servings 1x
- Diet: Vegetarian
Description
A delightful treat that combines the rich creaminess of ice cream with sweet cherries and chocolate chips.
Ingredients
- 2 cups heavy cream
- 1 cup whole milk
- 3/4 cup granulated sugar
- 1 teaspoon vanilla extract
- 1/2 cup cherry puree
- 1 cup chocolate chips
- 1 cup cherries, pitted and halved
Instructions
- In a medium bowl, whisk together the heavy cream, whole milk, and granulated sugar until the sugar is dissolved. Stir in the vanilla extract and cherry puree until well combined.
- Cover the mixture and refrigerate it for at least 2 hours, or overnight, to allow the flavors to meld.
- Once chilled, pour the mixture into an ice cream maker and churn according to the manufacturer’s instructions (usually about 20-25 minutes).
- When the ice cream is nearly done churning, add the pitted and halved cherries and chocolate chips. Continue to churn for a few more minutes until the cherries and chocolate are evenly distributed.
- Transfer the ice cream to an airtight container and freeze for 4-6 hours, or until firm.
- Scoop out your creamy, cherry-filled ice cream and enjoy!
Notes
For the best flavor, use fresh cherries. Adjust sugar to taste. Serve with chocolate sauce or extra cherries for a special touch.
- Prep Time: 120 minutes
- Cook Time: 25 minutes
- Category: Dessert
- Method: Churning
- Cuisine: American
Nutrition
- Serving Size: 1 serving
- Calories: 350
- Sugar: 28g
- Sodium: 120mg
- Fat: 22g
- Saturated Fat: 13g
- Unsaturated Fat: 6g
- Trans Fat: 0g
- Carbohydrates: 40g
- Fiber: 1g
- Protein: 6g
- Cholesterol: 90mg
Keywords: cherry ice cream, homemade ice cream, dessert, summer treat