
Luscious Cream Cheesecake
Introduction
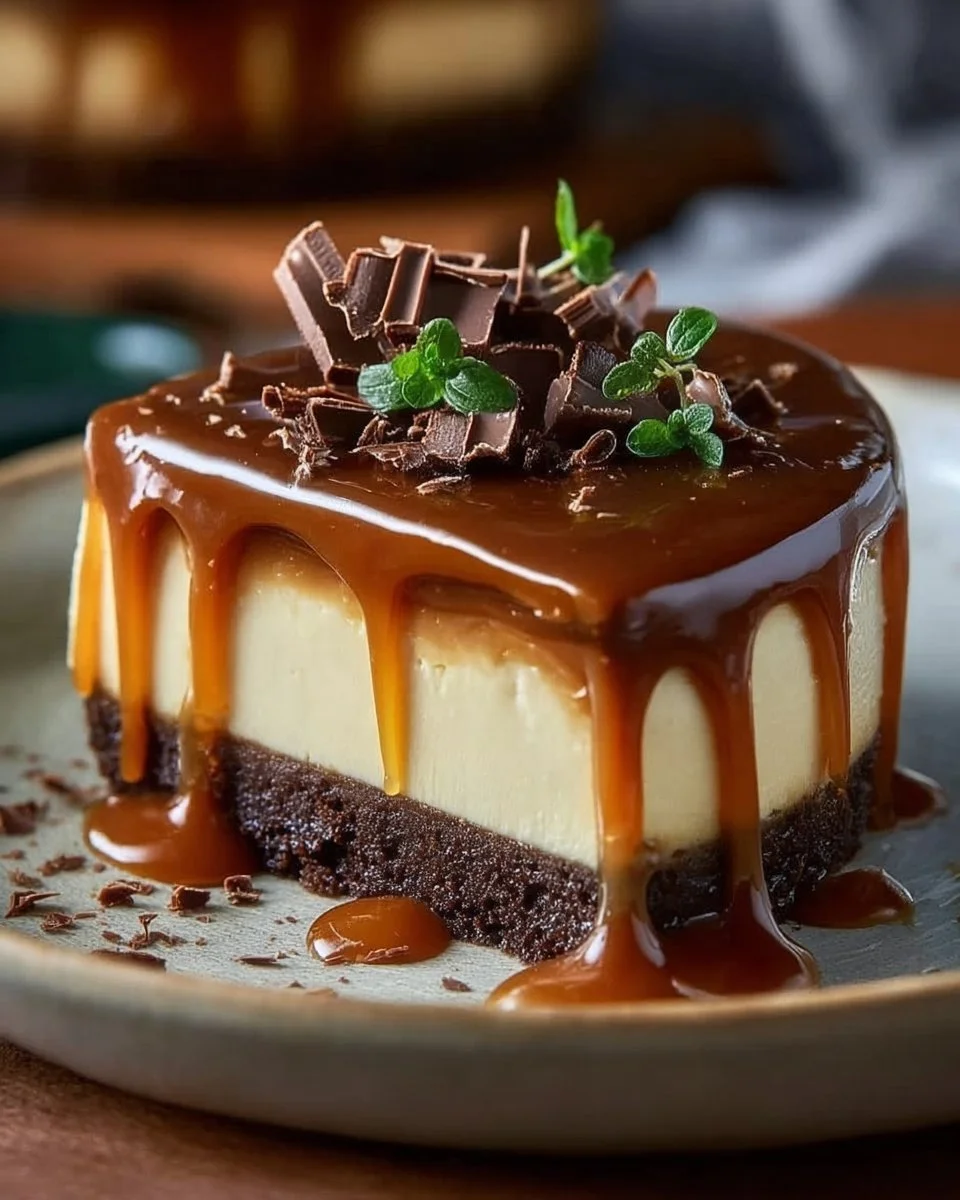
The Luscious Cream Cheesecake is a delightful dessert that combines the smooth richness of cream cheese with the refreshing taste of pineapple. This cake is perfect for gatherings, celebrations, or simply to satisfy your sweet tooth. Its creamy texture and fruity topping make it a favorite among cheesecake lovers.
Why Make This Recipe
Making the Luscious Cream Cheesecake is easy and rewarding. This recipe is simple enough for beginners, yet it impresses everyone with its delicious taste. The combination of creamy cheese and sweet pineapple creates a unique flavor that is both rich and refreshing. Plus, it’s a great way to use fresh fruit, adding a burst of flavor to every bite.
How to Make Luscious Cream Cheesecake
Making your own Luscious Cream Cheesecake at home is a fun and easy process. Follow these steps, and you’ll have a strawberry-fresh dessert ready to impress!
Ingredients:
- 2 cups graham cracker crumbs
- 1/2 cup melted butter
- 24 oz cream cheese, softened
- 1 cup granulated sugar
- 1 tsp vanilla extract
- 1 cup crushed pineapple, drained
- 1 cup heavy cream, whipped
- Fresh pineapple chunks for topping
Directions:
- Preheat your oven to 350°F (175°C).
- In a medium bowl, mix the graham cracker crumbs and melted butter until well combined.
- Press the mixture firmly into the bottom of a 9-inch springform pan to create the crust.
- In a large bowl, beat the softened cream cheese and granulated sugar until smooth and creamy.
- Add the vanilla extract and mix well.
- Gently fold in the crushed pineapple and whipped heavy cream until evenly incorporated.
- Pour the cheesecake mixture over the prepared crust, smoothing the top with a spatula.
- Bake in the preheated oven for 15 minutes.
- Reduce the temperature to 325°F (160°C) and bake for an additional 50-55 minutes, or until the center is set.
- Remove the cheesecake from the oven and let it cool completely.
- Refrigerate for at least 4 hours, or overnight.
- Before serving, top the cheesecake with fresh pineapple chunks.
How to Serve Luscious Cream Cheesecake
To serve Luscious Cream Cheesecake, slice it into even pieces using a sharp knife. For a fancy touch, you can add a little extra whipped cream on top or serve it with more fresh pineapple chunks on the side. Enjoy it chilled for the best flavor!
How to Store Luscious Cream Cheesecake
Store the Luscious Cream Cheesecake in the refrigerator. Make sure to cover it with plastic wrap or store it in an airtight container. It will keep well for up to five days. If you want to enjoy it even longer, you can freeze it for up to a month. Just make sure to wrap it tightly to avoid freezer burn.
Tips to Make Luscious Cream Cheesecake
- Ensure the cream cheese is softened at room temperature before mixing for a smoother texture.
- For a thicker crust, add a bit more melted butter to the graham cracker crumbs.
- If you want a more intense pineapple flavor, you can add more crushed pineapple!
Variation
You can customize your Luscious Cream Cheesecake by adding different flavors. For example, add chocolate chips or use strawberries instead of pineapple for a berry cheesecake. Experiment with flavors to find your favorite!
FAQs
1. Can I use low-fat cream cheese in this cheesecake?
Yes, you can use low-fat cream cheese. It may alter the texture slightly, but it will still taste delicious.
2. Can I make this cheesecake in advance?
Absolutely! This cheesecake tastes even better the next day. Just remember to refrigerate it until you are ready to serve.
3. How do I know when the cheesecake is done baking?
The cheesecake is done when the center is set but still slightly jiggly. It will continue to firm up as it cools.
Enjoy making and sharing your Luscious Cream Cheesecake! Your family and friends will love this delicious dessert.
Print
Luscious Cream Cheesecake
- Total Time: 90 minutes
- Yield: 8 servings 1x
- Diet: Vegetarian
Description
A delightful dessert that combines the smooth richness of cream cheese with refreshing pineapple, perfect for any gathering.
Ingredients
- 2 cups graham cracker crumbs
- 1/2 cup melted butter
- 24 oz cream cheese, softened
- 1 cup granulated sugar
- 1 tsp vanilla extract
- 1 cup crushed pineapple, drained
- 1 cup heavy cream, whipped
- Fresh pineapple chunks for topping
Instructions
- Preheat your oven to 350°F (175°C).
- In a medium bowl, mix the graham cracker crumbs and melted butter until well combined.
- Press the mixture firmly into the bottom of a 9-inch springform pan to create the crust.
- In a large bowl, beat the softened cream cheese and granulated sugar until smooth and creamy.
- Add the vanilla extract and mix well.
- Gently fold in the crushed pineapple and whipped heavy cream until evenly incorporated.
- Pour the cheesecake mixture over the prepared crust, smoothing the top with a spatula.
- Bake in the preheated oven for 15 minutes.
- Reduce the temperature to 325°F (160°C) and bake for an additional 50-55 minutes, or until the center is set.
- Remove the cheesecake from the oven and let it cool completely.
- Refrigerate for at least 4 hours, or overnight.
- Before serving, top the cheesecake with fresh pineapple chunks.
Notes
Store in the refrigerator for up to five days. Can be frozen for up to a month.
- Prep Time: 20 minutes
- Cook Time: 70 minutes
- Category: Dessert
- Method: Baking
- Cuisine: American
Nutrition
- Serving Size: 1 slice
- Calories: 400
- Sugar: 28g
- Sodium: 400mg
- Fat: 28g
- Saturated Fat: 16g
- Unsaturated Fat: 10g
- Trans Fat: 0g
- Carbohydrates: 34g
- Fiber: 1g
- Protein: 6g
- Cholesterol: 90mg
Keywords: cheesecake, dessert, pineapple, creamy, easy, baking, celebrations